I love the board game Root. It’s my favorite board game of all time.
I love the RPG, too. I’ve been been working on making a one page
player guide I use when I teach the game. You should buy the game, then
use my player guide for when you want to help teach the game faster.
Changelog
Update: I am now maintaining hugo-sandstorm
and new releases will come out shortly after releases of Hugo come out.
It also comes with a
pretty functional administrative interface if you need to crank out
a blog post on the go. This site, and my webcomic sites, are also
running on the new app. Give static publishing on an awesome
self-hosted app server a try!
Update 2: I am no longer maintaining hugo-sandstorm.
I use Hugo on Sandstorm to publish all of my sites, since it’s super-simple,
pretty flexible, doesn’t require a database, and plays nice with Webpack
so I can get styles and code and stuff. The existing Hugo app for
Sandstorm is super out-of-date, so I’m working on updating the app
for modern Hugo and NodeJS.
I have the forked repo up
on GitHub and I’m going to move all of my sites over
to it to stress-test it, and once that’s good, I’m going to see if I can restore
the administrative interface and get a new version published. I really like
both Sandstorm and static publishing, and I want to see both get better
and be able to take advantage of the newer tools out there.
Plus, finding Hugo 0.20-specific docs is basically impossible now, so it
saves us all a lot of time searching.
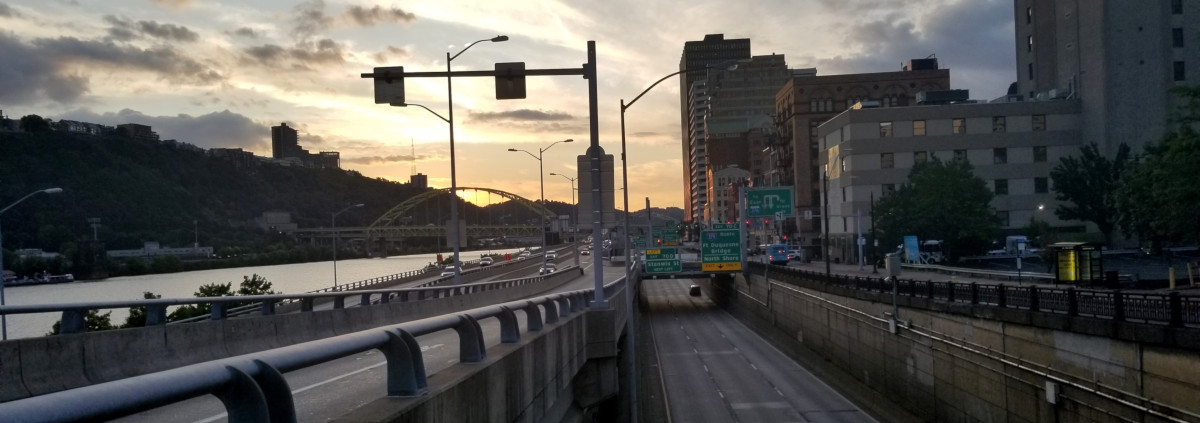
Abstractions is a multidisciplinary tech conference
that takes place in Pittsburgh. I went to the first one in 2016 and was blown
away with the quality of both talks and attendees. That was also the first time
I really got to explore a lot of Pittsburgh, and I really took to the city right away. So when 2019
was announced, I signed up immediately, knowing I was getting into something
that was going to be really special.
I’m only highlighting some of the talks, mainly the ones I took a lot of notes on
or were particularly inspired from.
Keynotes
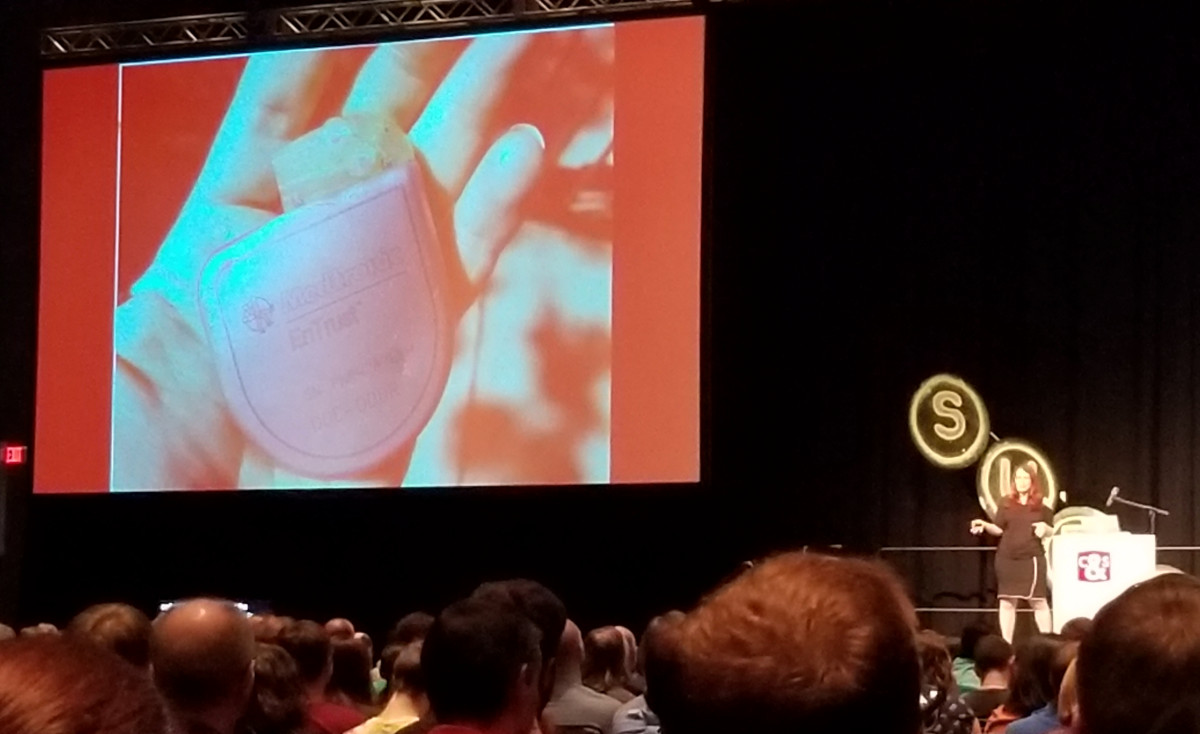
Karen Sandler, Finding Our Path to Digital Autonomy
I’m pretty big on software freedom. It’s the reason my entire art pipeline
(with the execption of one tool on Android) is free software: I don’t want
a commercial vendor to control the access to my artistic data, something
very important to me. But what if that vendor access went even farther and to
a more important area of your like like, say, medical devices?
This was the first of several presentations where I wrote down the phrase
Delete the Internet and Destroy All Computers because maybe it’s time
we just start the whole thing over.

Aaron Patterson
This was a really shitty talk. No, really, it was about a device he built to
weigh his cat, and the cat pooped in the box so it registered more weight
after the cat left than before, and there was bunch of functional programming
and signal processing stuff? A fun little whirlwind of a talk.
Simone Giertz, Why You Should Make Useless Things
This talk took “Failure is always an option” a step further. As you learn more
from failure than success, by intentionally trying to fail, you also learn
that it’s OK to fail in those times you’re actually trying to success.
Zed Shaw, That’s Not Parallel Mr. Steve Vai - Guitars, Code, Art, Self-Awareness & The Limits of Instruction
As an old-school out-of-touch Ruby programmer, I didn’t know what to expect here. What
I got was some similar lessons on trying and failing within the art world, specifically
around painting and playing guitar, and learning to trust your own instincts,
especially in a structured learning environment. I even chatted with Zed a bit
afterwards about my own adventures in painting in college. A great way to
cap off the conference.
Talks that stuck with me
Protecting Yourself Online and In-Person
Another Delete the Internet and Destroy All Computers-worthy talk. The
goal of online protection is to reduce the likelihood of someone tracking
you down to harrass, injure, or kill you or your family (!), and a lot of the
in-person protections were around travel, especially to foreign countries.
My own takeaway todo list for this talk is the following:
- More webcam covers!
- Improved package delivery options/communication
- Unsubscribing from, like, everything that has my name on it that I don’t need
Building Accessiblity Together
A lot of the talk was about improving accessibility for all users, and there
were two things that stuck out most:
- Use the correct HTML tag for the job. As an example,
a tags should link to
things, not open/close/etc. things. If your tag is the equivalent of <a onclick="">
and clicking it doesn’t take you somewhere else, time to use a different element.
- Give things real big interaction targets, much larger than the image itself
(in this talk, it was the Open Search Bar magnifying glass icon), because even when you’re on a non-mobile
device, why not make it easier for all your users to click on stuff in your UI?
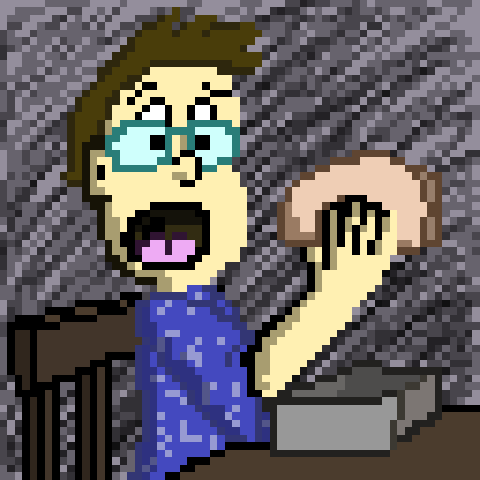
Deeper Understanding & Better Communication Through Visual Arts
Here’s a talk that’s right up my alley. Anna’s talk covered the differences
between fine arts & illustration, and how illustrating technical concepts
visually can increase understanding and buy-in from others. This is
something I’ve always done in my career and it’s pretty powerful.
Also Anna’s own pixel art inspired me to do a little pixel art during
the con, so here’s me eating a taco at Condado:
Game Development in 8 Bits
As someone who has started messing with one of the more advanced game
engines around, seeing how it was done in the days where total RAM was
measured in kilobytes was pretty wild, but the talk eventually came to a
great point with regards to development: Embrace the Stupid. If it makes
the project work and move forward and it’s good enough, then great job.
Constraints within a project force you to find innovative solutions.
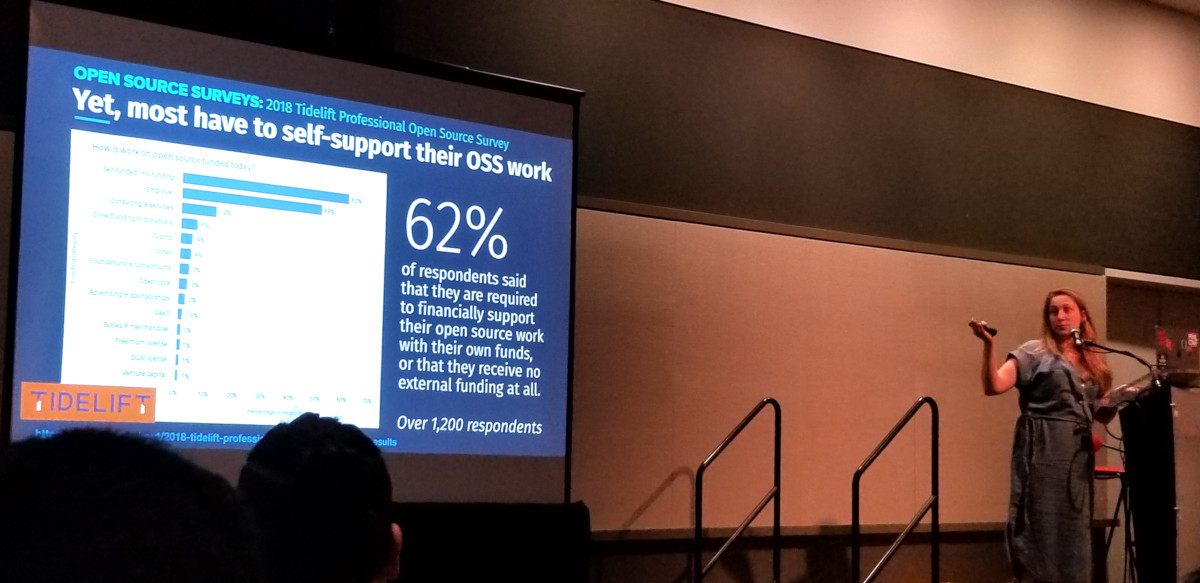
The Times They Are a-Changin’: A Data-Driven Portrait of New Trends in How We Build Software, Open Source, & What Even is “Entry-Level” Now
Just showing this slide from the presentation for no reason in particular…
This was the talk that inspired me the most. Not because it literally hit
close to home job-wise, but because of the huge change in the demographics
of software developers – folks like myself, who have been in the industry for
a very long time, are in the vast minority, and over half of developers
nowadays have fewer than 5 years of experience in the industry.
This has got me thinking…
Effective Engineering: Step Away from the Keyboard
…oh hello, relevant talk. This one covered an interesting set of talking
points from someone else who has been around for a while in tech, with the
biggest takeaway being “you’re in tech, of course it’s your job to improve
technically all the time.” Improving in the non-tech
areas like communication, collaboration, and compromise is where I’ve
personally found the real effort takes place. Y’know, the human stuff.
This has got me thinking, too…stay tuned.
Pittsburgh
As I said earlier, I love Pittsburgh, and I’ll now take whatever opportunities I can to get back here and explore.
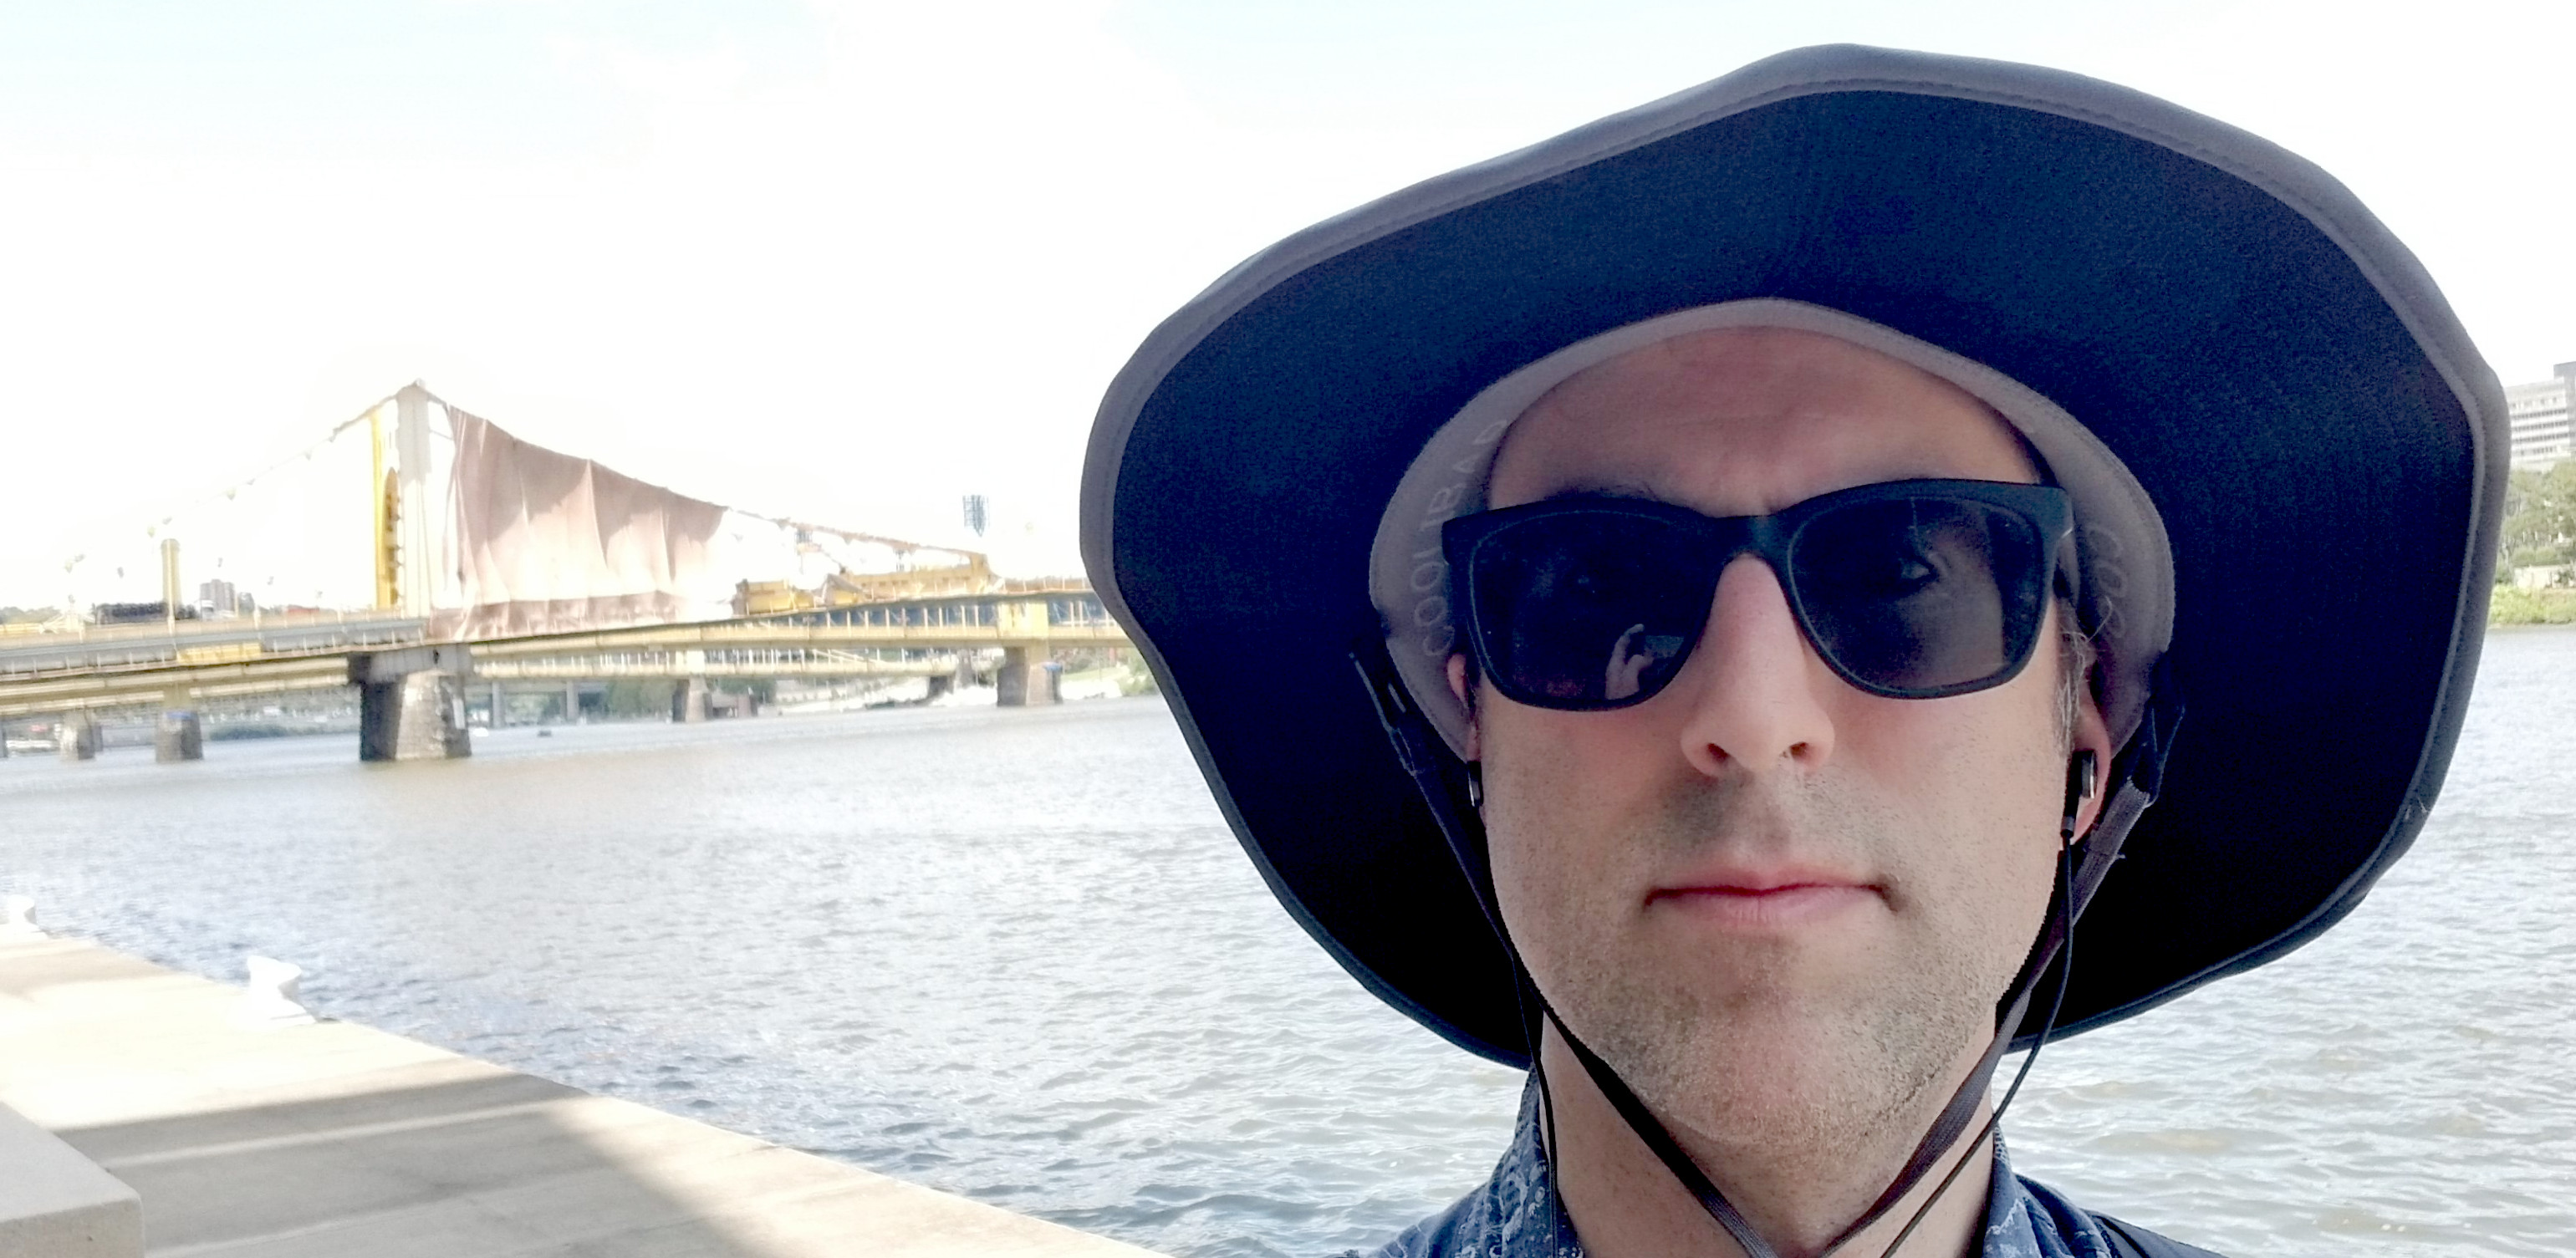
Food
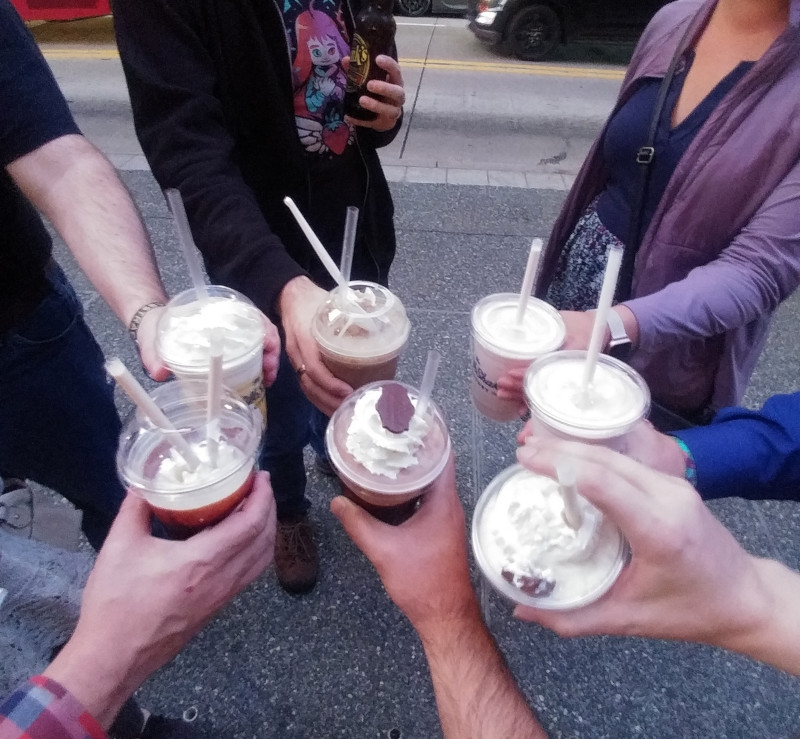
Oh I ate so much food when I was there. Tacos, burgers, Korean, coffee,
coffee, beer, coffee, pizza, coffee:
Walking
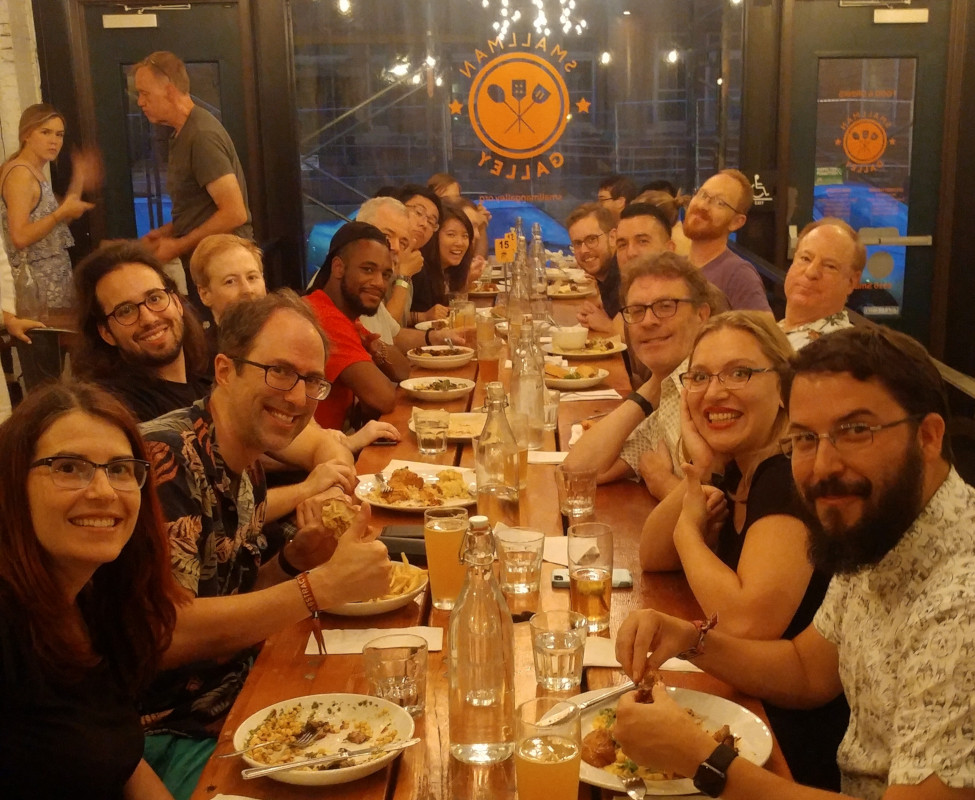
Socializing
See you next year, Abstractions!
I’m learning how to use the Godot game engine
and so I’m going to start keeping my notes on my blog so I can remember
them, and hopefully gather resources that may help you.
My goal is to rebuild an ancient RPG I made called Final Existence on the
Amiga in AMOS Basic, which was a YA alternate universe apocalyptic game
that looked and felt a lot like Chrono Trigger. I’ve become a bigger fan
of ARPGs lately, and I’ll rebuild it using that paradigm.
There are a crap ton of tutorials out there, but I’ve been having trouble
gathering all the pieces I want together to build an ARPG, and there’s a
lot of moving parts in Godot, so this is my attempt to wrangle all that
together in one place for myself.
So, on with the notes:
What do I (think I) need next?
TileMap/Area2D collisions for making the character walk around and get
stopped by things, and know what I ran into.- A map that’s bigger than the screen that follows the character around.
What have I found?
- Started with Your First Game to get a handle on editor in general
- GDScript is very Python-y, which is not my strongest language, but I’m getting the hang of it
- I wish Godot had vim keyboard shortcut support
- Learned TileMap and TileSet because I plan on using tiles to make maps
- Still need to figure out how to get things to run into tiles
- Walked through Kinematic Character 2D
- The official docs
- Using KinematicBody2D on KidsCanCode
- Still think I’m missing something with this:
- Can’t quite get the character to walk/move as expected
- Also this is more platformer-y than I need right now
- Watching Top-down RPG/Adventure in Godot
- i18n in Godot
- Switch scenes via “NPC” with a Screen Change custom event
export var to select target sceneexport var for warp target in other scene- Remove old scene from DOM
get_tree().root.get_child()/.add_child()Scene#queue_free to safely remove from memory!
- Add new scene to DOM
- Find player in new scene
- Move to position of warp target
- Put nodes into a group called “exit” to focus the search
- Dialog box
- Move it out of the way if the character is there
- The scene will need a camera
- Find the Camera2D
- Only one camera in a scene, pick one using
Camera2D#make_current()
- Put the camera in the thing that needs to be tracked
- Drag margins require tracked object to hit edges before moving
- Make the camera current, or nothing will move
- Clamp the camera scroll to the size of screen with
Camera2D#limit_??
- Grab the dimensions of something that’s as big as the scene
- Can you get scene/child node offset size
- Player move from scene to scene
- Primarily to transfer player state
- Video shows physically moving player node, since Player object
contains state, but I’m thinking to have a Vuex/Redux like
store external to visual scenes where such data can be stored
and reconstituted
- Moving nodes from Scene to Scene seems error-prone, more reason
for external state
- Crystal
- Using separate TileMaps
- One for walkable areas, one for collisions, one for stuff outside the play area
- Signals
- Emit a signal on transport to recalculate camera clamping
Solution to “RPG Map with tiles and doors”
Node2D Main scene with KinematicBody2D Player and Node2D MapContainer
MapContainer contains the first MapPlayer handles own position, using move_and_collide to detect
collisions, and move_and_slide to complete moves after initial
collisions.Player gets collision Node and determines if it is a Door
Door is a subclass of KinematicBody2D with the exported properties
DestinationScenePath : String and ExitID : int.- On collision,
Player emits a signal with DestinationScenePath and ExitID
Main listens for collision signal from Player and, once received,
manually swaps out the old map in MapContainer with the loaded
DestinationScenePath…
- …then searches the new scene for nodes in the
exit group and
finds a node in that group with an ExitID property that matches
the one received in the signal. If found, move Player to
that Node2D#position.
Map and Map2 have nodes in this order:
TileMap Walkable- Any
Doors with appropriately set DestinationScenePath and ExitID
TileMap Walls with tiles with Collision enabledExitNodes, each in the exit group and with an ExitID that matches
the Door from the other scene.
I mean, if anime wasn’t real, then what the heck have I
been watching all these years?!?
Phone and
Desktop
versions available, too.


